Prologue: Signing up for Amazon Web Services
This project will give you the tools to deploy your website to the Amazon Web Services (AWS) Cloud. For this to happen, however, you need to have an account with AWS. The process is very straightforward, and the actual signup is not detailed here.
Once you’re done, you’ll be greeted by the overwhelming AWS console.

AWS Console, accessible by clicking the top left icon.
Section Goals
Once you have an account, your goal will be to create a user to allow command-line access to the cloud. However, before we can create the user, we will have to secure the cloud.
Both securing an account and creating a user happen in the Identity and Access Management (IAM) section. You can find it on the AWS console under Security & Identity, or you can click here if you’re currently logged in.
Securing your Account
When you are greeted by the IAM Management Console, you will discover a list of actions to take to secure your cloud resources.
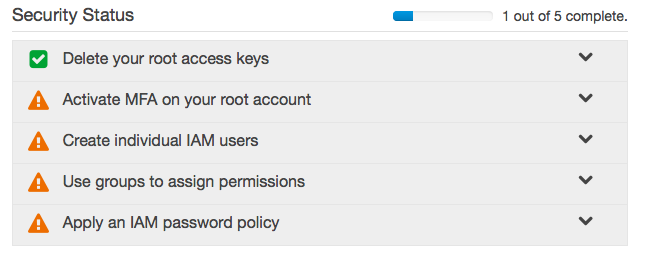
Security Task List in the AWS IAM Management Console
By default on new accounts, the first item will have been completed for you (if your account is older, this may not have been done for you).
The second item, Multi-Factor Authentication (MFA), will allow us to setup Two-Factor Authentication using a smartphone. This is certainly not required, but I heartily recommend it. Click on the Activate MFA on your root account item in the list, then on Manage MFA, and then follow the instructions. You will need to install Google Authenticator on your smartphone to properly setup the service.
You may have to hit the Dashboard link towards the top left of your window to get back to the IAM console. You’ll be greeted by a green checkmark in your task list.

Security Task List with MFA Setup Complete
We can then skip to the end of the task list, and setup password restrictions for any future users. Click on Apply an IAM password policy and then on Manage Password Policy. You’ll be greeted with a page with a number of choices. My usual selection consists of the following (but feel free to pick your own):
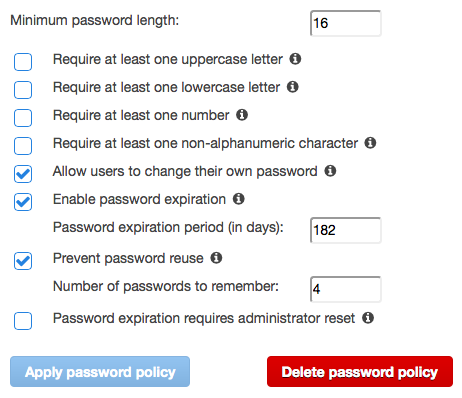
Andrew’s Password Policy Settings.
Once you successfully apply a password policy, the task list will appear with three checkmarks:
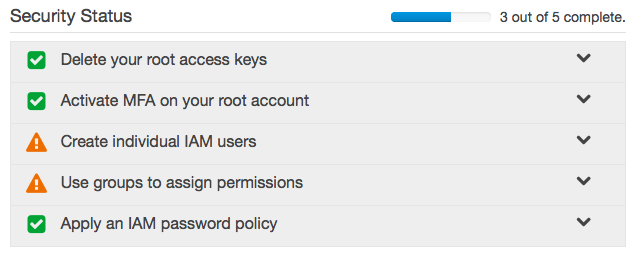
Security Task List with Password Policy Complete
Creating a User and applying permissions with a Group
With user management comes the idea of permissions: we want to restrict what a user can do on our system for security purposes. The best way to do this is to create a group, and assign permissions to that group. We then add users to that group, rather than adding permissions directly to the user.
Creating a Group with Permissions
Our first task is thus to create a group. In the IAM console, in our security task list, click on Use groups to assign permissions and then on Manage Groups. Alternatively, you can simply click on Groups in the sidebar on the left.
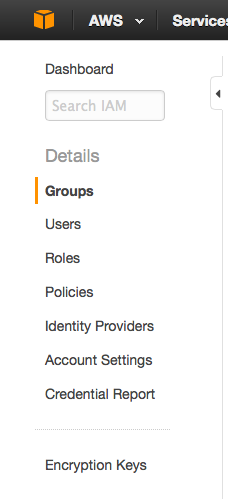
Groups button in the IAM Console Sidebar
On this new page, click on the Create New Group button. This will bring you to the Create New Group Wizard. I will call the new group administrators and then click Next Step at the bottom right of the screen. This brings us to the long list of permissions we can apply to our new group.
Groups button in the IAM Console Sidebar
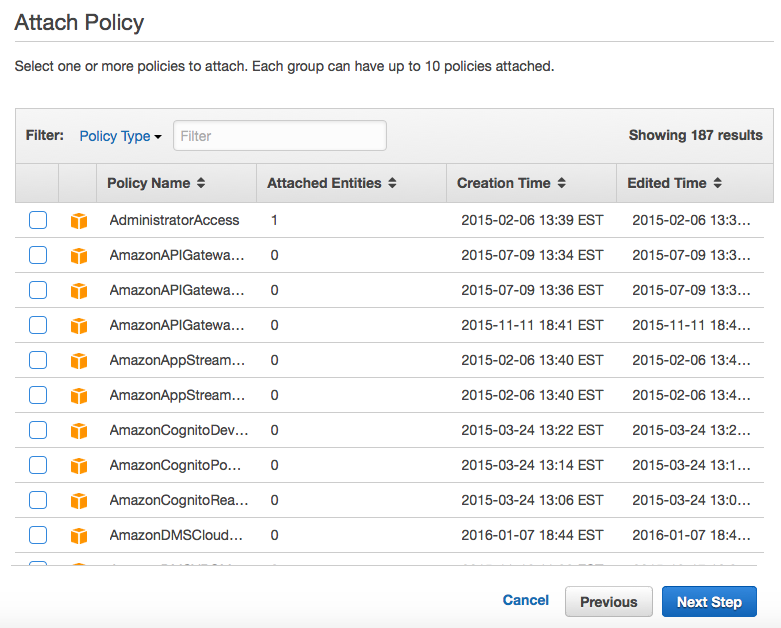
As we’re creating a user policy for our own command-line access, we want to give ourselves full access to the cloud. We therefore click the checkbox next to AdministratorAccess, and click Next Step.

AdministratorAccess Policy in the AWS IAM Create New Group Wizard
AWS will give us an overview of our new group, allowing us to click Create Group to actually finish the task.
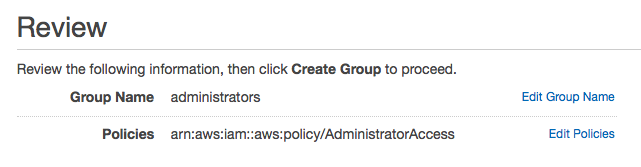
AdministratorAccess Policy Review in the AWS IAM Create New Group Wizard
Creating a User
Finally, we can create a user, and then add the user to our administrators group.
Much like with groups, we can either click on Create individual IAM users in the task list and then click on Manage Users, or use the Users link in the sidebar. On the new page, click Create New Users.
We only need a single user, so I will only fill in the top text field. Make sure that Generate an access key for each user checkbox at the bottom of the textfields is checked (the default).

Create User in AWS IAM Console
With this new user created, you will be prompted to download the authentication credentials for the new user (the button at the bottom right of the screen on the new page). You will need this information when generating the static site project with our template. I recommend saving this information in a safe location, such as a password manager, as this information gives full access to your AWS account.
After you’ve downloaded and saved your credentials, your new user will appear in the list of users.

New User in User List of AWS IAM Console
If you click on the new user, the full profile will be displayed.

New User Profile
Warning
The Amazon Resource Numbers (ARNs) associated with various cloud resources are unique, and should be kept semi-secret.
Use the Add User to Group button to add the new user to the administrators group.
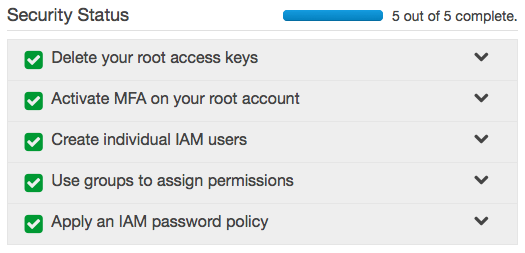
Having created a user and assigned it a group with permissions, the task list for securing your account is now complete. Congratulations!